To learn more about what privacy zones are and how they protect your location, see
What are privacy zones.
You can create a privacy zone for any group you belong to. To start, you can either long press on the map in the area where you want to create the zone, or open the group details screen, select Privacy zones, and tap Add.
Start the creation process using one of the methods above.
Enter a name for your privacy zone. If you do not enter one, it defaults to “Privacy zone”. You can also select one of the suggested names.
Search for a specific address or drag the map to position the center point of your zone.
Adjust the radius of your zone by moving the slider. This defines the area where your precise location will be hidden.
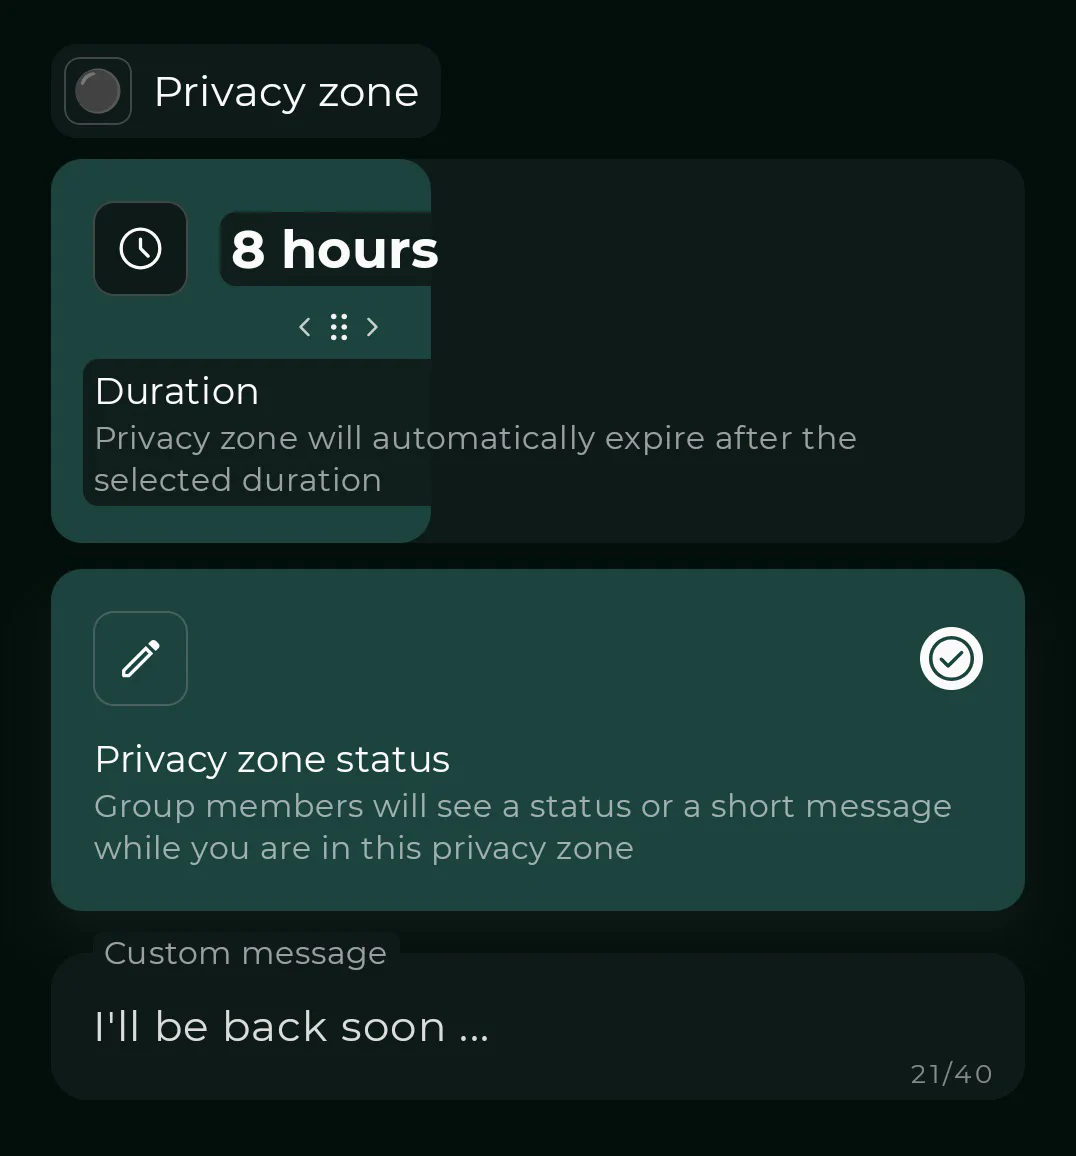
Choose whether the zone should be always active or set to expire after a duration you select, such as 1 hour, 4 hours, or 1 day.
Configure the privacy zone status sharing. You can turn it on to let group members see a status or a custom short message (like “Taking some me-time”) while you are inside the zone. If you turn status sharing off, other members will only see that your location is not accurate.
Tap Create privacy zone to save your settings.
Your privacy zone is now active. It is end-to-end encrypted and visible only to you.
Other group members are not notified when you create a zone, and no push notifications are sent.